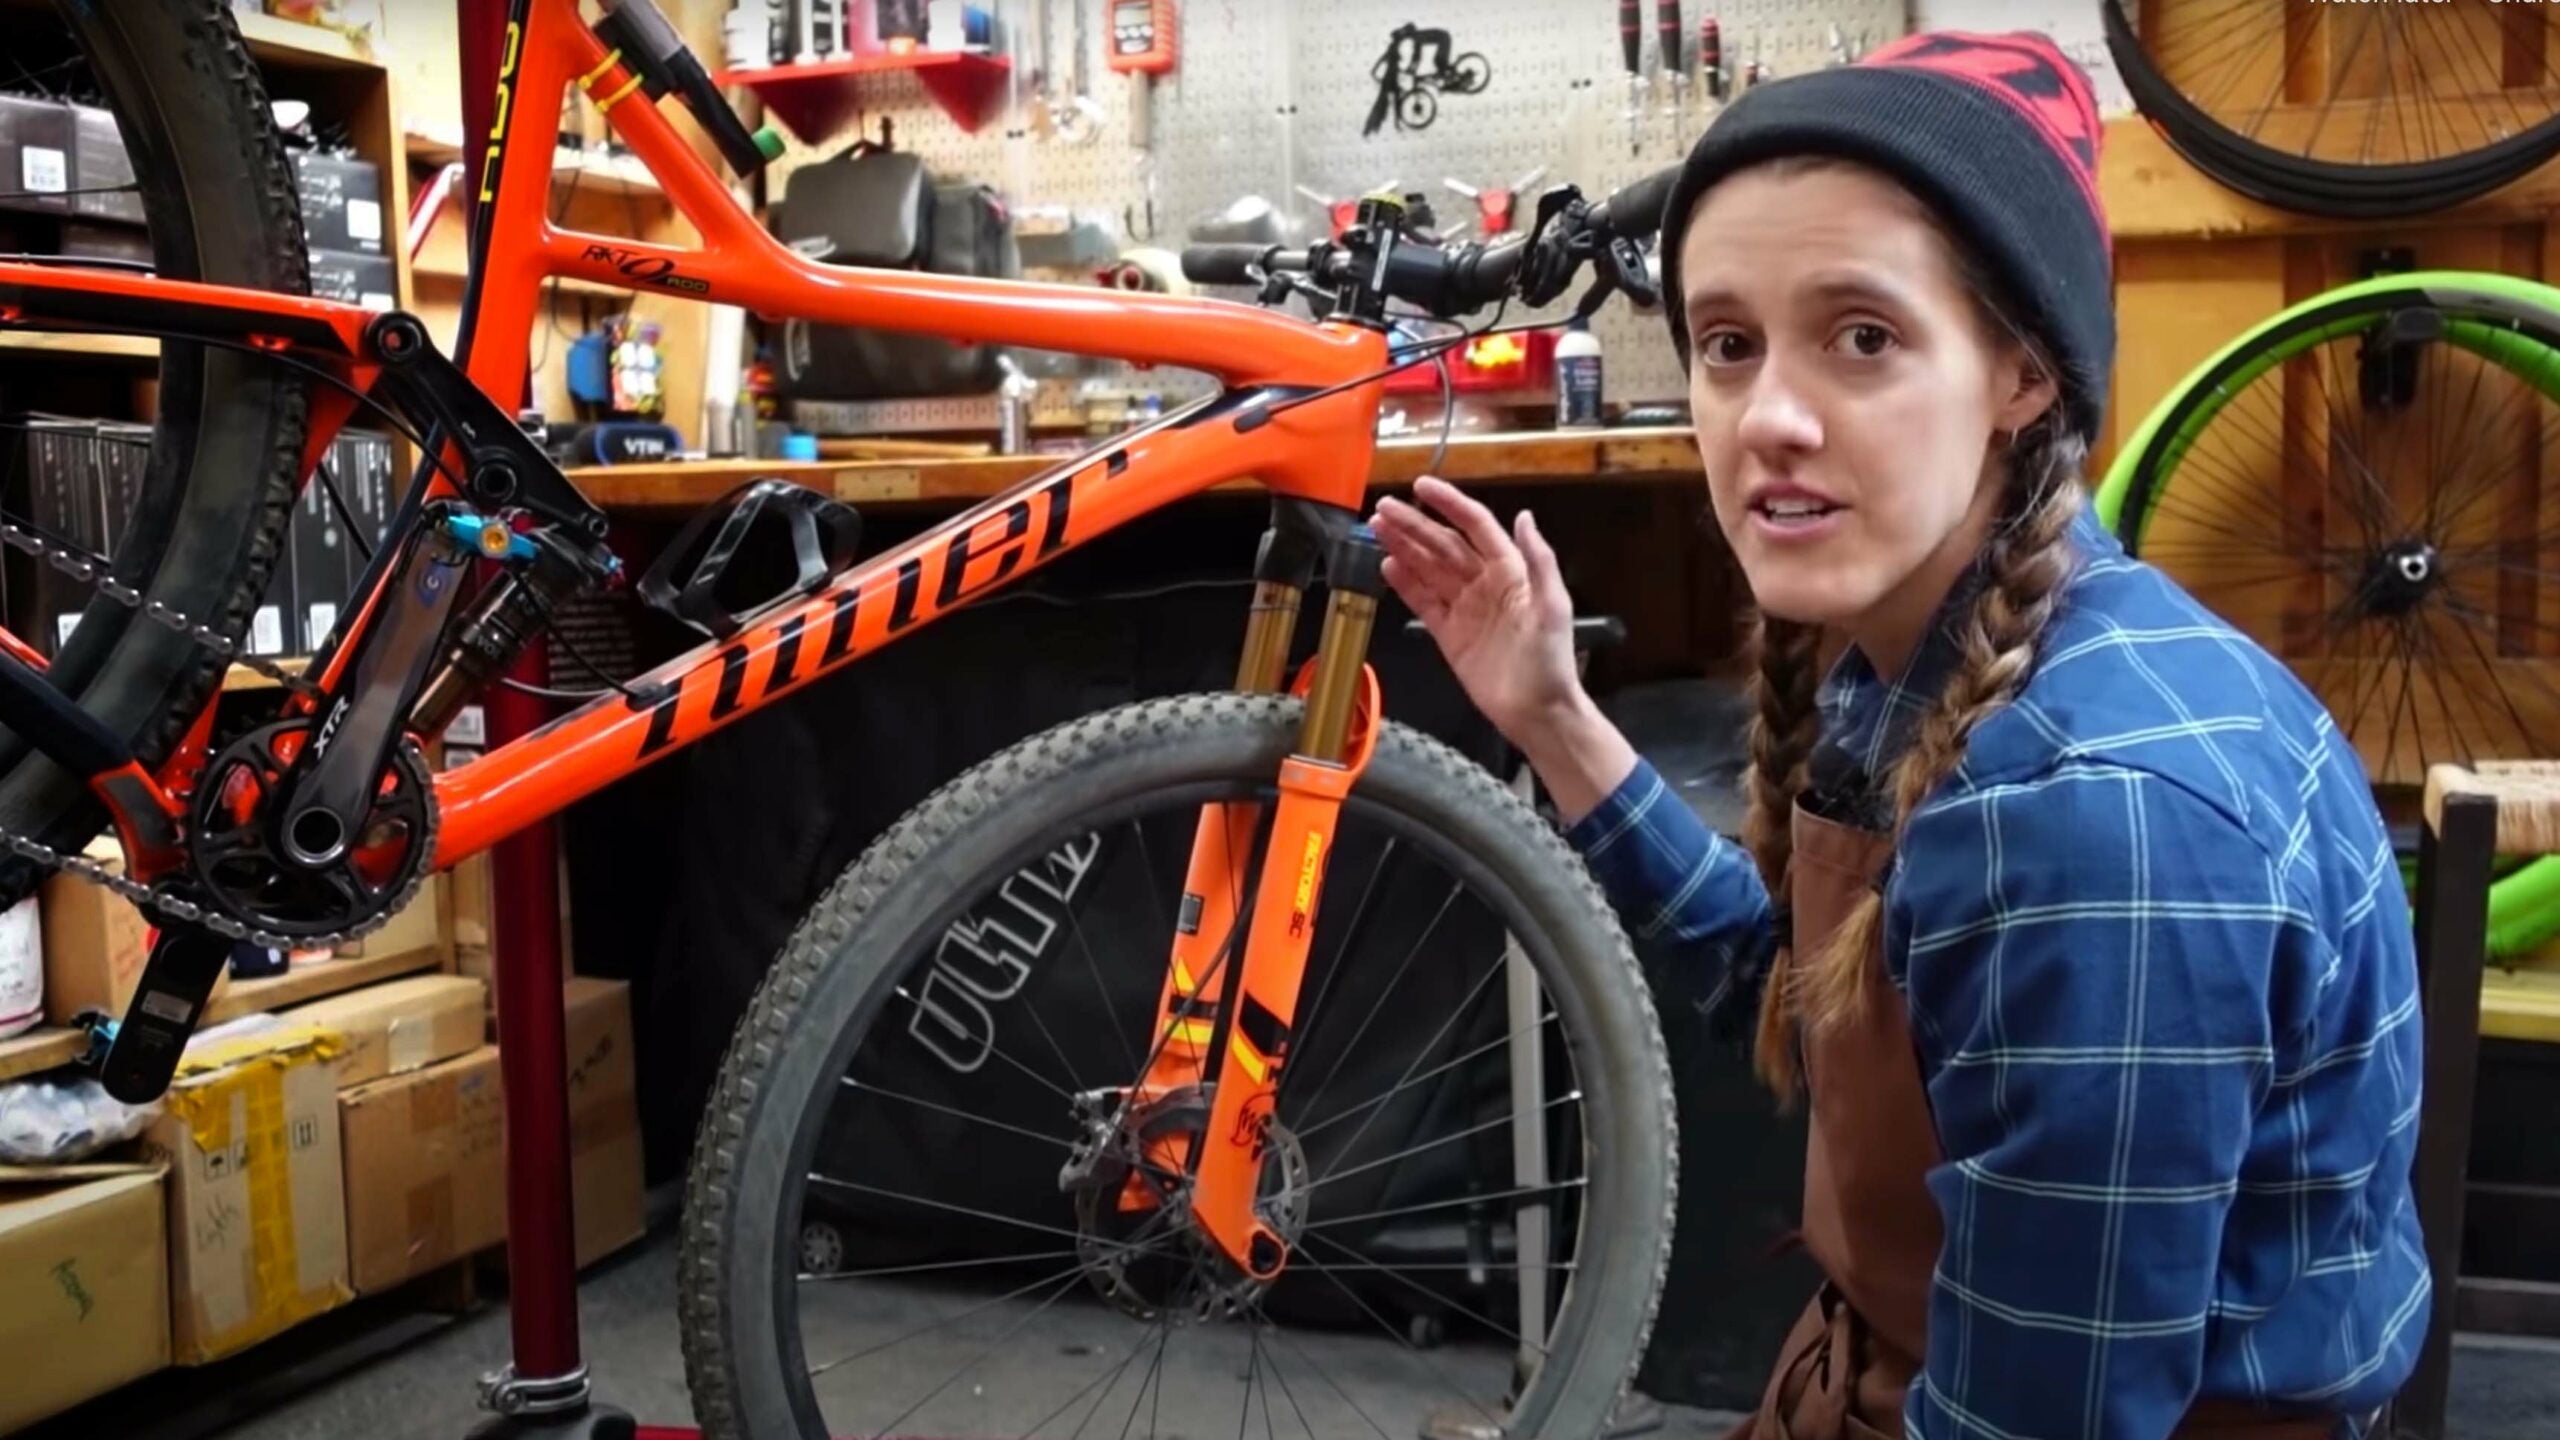
In 2020 I suffered a major injury that kept me off the bike for the entire year. That, plus covid-19, made for some pretty rough times. One of the ways I coped was by learning how to wrench on my own bike. Previously, I could barely fix a flat tire, but I had a good teacher (my husband, Macky) and working on bikes became a way to stay sane while expanding my skillset, even if I wasn’t riding. My bike maintenance lessons were pretty hilarious, and I found myself making a lot of dumb mistakes—errors that you don’t usually see in pro bike maintenance tutorials on YouTube. We decided to publish these lessons online to create a space for pressure-free, beginner-friendly bike maintenance tutorials. Thus, our channel SYD FIXES BIKES was born. I’ll be sharing some of my tutorials here on the PEARL iZUMi blog. So if you’re new to riding or just starting to do your own bike maintenance, you’re in the right place!
In this episode, I’ll explain how to fix a broken chain while out on the trail.
What you’ll need:
•The correct quick link for your chain: 12-speed, 11-speed, 10-speed or 9-speed chain link.
•Multi-tool with chain break
Method #1 (Using a Quick Link)
Hopefully you carry a quick link in your repair kit, as this is definitely the easier/faster/all-around preferred way to fix a broken chain. (Scroll down for what to do if you DON’T have a quick link). The first step is to use your chain break to remove the outer link where the chain broke. This link will most likely be bent and/or twisted.

Once you’ve done that, run the chain back through your derailleur and around the cassette and chainring, keeping the broken part on the bottom (below the chainstay). Now install the quick link by inserting the pins of the quick link halves in the two ends of the chain, pulling the chain together and partially connecting the quick link. Then backpedal until the quick link is above the chainstay between the cassette and chainring. (You can also connect it in this position but it’s easier on the bottom because you can push the derailleur forward to remove tension on the chain). Now, step on your pedal while holding the rear brake until you hear the satisfying pop of the quick link connecting. Boom, you’re good to go!


Method #2 (No Quick Link, i.e. The Hard Way)
Okay, so you didn’t listen to our advice and you don’t have a quick link! Now what? Don’t worry, you’ll still be able to fix your chain. Use your chain break to remove the bent outer link and the next inner link (so you will be able to connect inner to outer) but DO NOT push the pin out all the way. Instead, push the pin out until you are able to twist and wiggle those links off.

Then run the chain through the derailleur and around the cassette and chainring and connect the chain at the bottom (below the chainstay) by wiggling and twisting until the inner link slips into place within the outer link (give yourself some extra space by dropping the chain off the chainring). If it won’t fit, you may need to push the pin out a bit farther, but again, avoid fully pushing the pin out (unless you’re carrying spare pins, in which case, go you!).

Now use the chain breaker to push the pin back in. Wiggle the link around until it moves smoothly (sometimes the chain will be very stiff at the point where you have reconnected it and this can cause issues as the chain goes through the derailleur). Then put your chain back on your chainring. It’s important to note that because you shortened your chain, you may have issues getting into your easiest gear (the biggest cog on your cassette). If you’re riding a full suspension, you need to proceed with caution when in your easiest gears. Compressing the suspension causes the chain line to lengthen which could cause you to break your chain again!
For more DIY repair and maintenance tips, check out more post in the SYD FIXES series.


Comments