If you discovered bikes recently, welcome! And if you’re coming back to bikes after “taking a break,” welcome back! As you’ve probably discovered, riding bikes offers an incredible gateway to freedom, new experiences, new friends, and of course, health and fitness. But like many new things, there can be a lot to learn. Here are a few tips to help you keep the fun times rolling.
How to Find Good Rides/Routes
Not surprisingly, the first step to enjoying cycling is finding good routes to ride. Nothing will spoil a ride faster than being surrounded by speeding traffic or walking long stretches of trail that are too challenging. Thankfully, there are quick and easy ways to hone in on rides that work for you.
For riding around your town and finding good commuting routes, Google Maps can be very helpful. But first, you’ll need to turn on the bicycling layer to get the most out of it. There’s a great tutorial here, which includes ways to find secret bike-friendly streets, see the elevation profile of your desired route, and more.
Road and mountain bike riders alike use Strava to track their rides and fitness stats, but it’s also a great way to see the routes other people are riding or create your own. You have to be a subscriber, but the app is useful in multiple ways, so most people find it worth paying for at $60 a year. It also has a social network aspect, which might help connect you with other riders near you.
Another good option for finding routes and tracking your own is Ride Spot from the PeopleForBikes organization. Your local shop may have an account where you can take part in ride challenges to earn free stuff or discounts. You can read about a route, get the GPX file, or just use the app to navigate your course. Or share your own rides to help others find great rides.
For trail riding, nothing beats Trailforks and MTB Project, two apps that help you find and navigate mountain bike routes. I routinely use both since they present the information in different ways. MTBP makes it easier to find a complete ride, while Trailforks offers an intuitive interface for looking at individual trails. It also uses a cool directional arrow to help you understand where you’re going. Trailforks uses a subscription model to access the full breadth of information offered in the app (the website is still free to use), while MTBP is free (for now, they may follow suit at some point). But Trailforks can also be used to find trails for various activities, including hiking, dirt biking, nordic skiing and more, plus creating your own routes, so it’s more than worth the $2.99 a month. In case you’re not familiar with the trail difficulty ratings, they’re just like ski run ratings: green is easy, blue is intermediate, black is advanced, double-black (or red) is expert. Green usually means wider trails with very few rocks or obstacles; blue has narrower trails with more obstacles; black trails may be full of challenging terrain and include exposure (meaning a steep drop-off from the trail’s edge). Read the trail descriptions carefully and compare the two apps to get a better sense of the difficulty. All the information is user-submitted and subject to rider perceptions. At the end of the day, remember that learning to mountain bike is a process. Walk any sections you don’t feel confident about and don’t beat yourself up about it. Stay safe to ride another day!

What to Bring on Your Ride
Every rider should carry a few critical items since even with brand new or well-maintained bikes, mechanical problems can still happen out on the road or trail.
You might be thinking, “I never ride alone, and I don’t know how to do mechanical stuff. Can I just rely on my knowledgeable riding buddy?” While that buddy can absolutely help with the how-to, you’ll need to carry your own supplies. Here’s what you should have with you:
-Spare tube (even if your tires are set up tubeless, you still need to carry a tube. A sidewall tear or other sizable puncture can’t be fixed by the tire sealant.)
-Tire levers, which are necessary for installing that tube
-Hand pump and/or CO2 cartridge. Having both of these can be a good idea, but if you’re trying to keep things simple, go with the hand pump. Most of them can be attached to your bike frame.
-A multi-tool. There are dozens of options out there, but you can narrow it down by thinking about how minimalist you’re trying to go, combined with how willing you are to learn about basic bike repairs. At a minimum, you’ll need a set of hex wrenches to tighten loose bolts or make simple adjustments. This article can help you pick one. There are even options that be stored inside your handlebar or steerer tube.
-Food and water. Even on a short spin, it’s a good idea to have a gel or other little snack with you. You never know when a ride may go longer than intended, and you don’t want to be without the energy to make it back.
-If you live in or visit an area with rapidly changing weather (such as in the mountains), a packable wind/rain jacket or vest can be a critical necessity.
So, how should you carry these items? It depends on your preferences, but there are some commonly used methods you can follow. For road and gravel riding, you can stash the tube and tools in a seat bag, put your food and jacket in your jersey pockets or cargo bib pockets, and attach your pump and water bottles to your bike. Badda bing, badda boom!
You can mostly do the same for mountain biking, with one note of caution: Don’t use a seat bag on a dropper seatpost. Your tire may hit the bag when the suspension compresses, and the post isn’t designed to operate with that extra weight leveraging off the back. Instead, use a tube strap, which transfers your necessary items to your bike frame. Speaking of your bike, if it’s a full suspension model, you may not be able to carry more than a single water bottle. There are solutions for this: you can wear a hydration pack, either as a backpack or a waist pack. Yep, fanny packs are considered stylish in the MTB world these days! I promise, they’re a world of difference from the Day-Glo version your mom wore in the 80s. Here are good options in the backpack style and a helpful overview of the waist pack style. If you really like using water bottles, you can even get a waist pack that simply holds your bottles.


Road and Trail Etiquette
Much like the rules of the road while driving a car, there are a few guidelines for piloting a bicycle, too. Not just for your own safety, but for others as well. I don’t want this section to read like a lecture from someone’s dad, so please bear with me. My goal is for you to have fun on your bike, rather than a negative experience that sends you back indoors or wherever you were hanging out before you decided to ride with us.
For riding on the road (pavement or gravel), the rules are relatively straightforward — you’re a moving vehicle just like a car, so you need to follow the same regulations. Please resist that urge to blow through stop signs or run red lights… you’re putting yourself in danger while simultaneously teaching motorists not to respect you as a legitimate user on public streets. Sadly, we live in an aggressive car culture, and bikes are often seen as a nuisance by motorists. So please, look after yourself out there. Ride defensively and make sure you can be seen. No matter who’s at fault, the cyclist is always the loser in any collision with a car.
One thing you may not realize is that in many cities and towns, it’s illegal to ride on the sidewalk except in residential areas. So don’t try to feel safer by squeezing in with pedestrians in a busy town center. A better plan is to try to find an alternate route using the tools listed above. Especially since these days, many more cities have embraced bike lanes and dedicated bike paths that it’s easier than ever to stay away from cars.
For mountain biking, the rules of the trail have evolved from a long history of fighting for trail access. It might seem crazy now, but the folks who invented the sport in the 1980s had to spend years persuading hikers and equestrians that bikes could be a safe addition to the trail community. But even today, where bikes on trails are a no-brainer (and the local mountain bikers may have built the trail in the first place), conflict still occurs among these users. And whether we like it or not, it’s the rider’s responsibility to limit these problems by yielding to both hikers and horses. Even at a beginner rider’s pace, we can’t help that we move at a significantly faster speed than everyone else, and we need to remember how frightening that can be to someone walking or riding a possibly skittish animal. Sadly, many mountain bikers think they’ve somehow moved to the top of the food chain and ride with no regard to other people on the trail. Please don’t let this be you. Trails are a treasured resource for all of us, and we all have a right to enjoy our experience.
And finally, unlike on the road, our trail access isn’t a right. If enough frustrated hikers band together, they can persuade land managers to restrict bike use or ban them altogether. So please, yield and be friendly, so we always have places to ride.
Speaking of being friendly: Somewhere along the way, cycling picked up an elitist attitude, as if riding a bike puts you on some sort of moral high ground paved with superiority. You may have felt this already as you’ve tried to navigate your way into the sport. But there’s good news — you can be the one to help break this tedious trend. I’m not saying you need to be the sport’s welcoming committee or anything. But being friendly, helping someone in need, and inviting other new folks to ride makes it more fun for everyone. Yes, you’ll run into unfriendly, grumpy people and even jerks; that’s true in any segment of humanity. But it would be amazing if we could all make cycling a more open and welcoming sport.

Group Rides
Traditional group rides aren’t happening right now due to the pandemic, but it’s definitely something to look forward to once people can gather in groups again. When you start reading what I have to say, you’ll wonder why on earth I said “look forward to,” but hear me out.
Group rides are funny. They’re kind of like a blind date: there’s always that possibility you won’t get what was advertised. Many rides are described as being “no drop,” meaning if everyone else rides faster than you and you’ve been “dropped” off the back of the group, you won’t be totally abandoned. But people being what they are, it’s not uncommon for a few fast riders to attend in order to have their ego stroked. They’ll blaze away with a speed that’s not quite attainable by the rest of the group, so then a bunch of those people feel challenged (or maybe threatened) by this display and start trying to keep up. Pretty soon, it’s an every-rider-for-him/herself situation, and the goal to keep everyone together has been completely forgotten. I won’t sugarcoat it — this can be really frustrating for new riders, especially if no one waits at intersections and you have no idea where they went. For mountain bikers, being left alone in the woods can have its own special flavor of unsettling.
Or if people do wait for you, they wait just long enough for you to get to the intersection, then take off again, leaving you gasping and wondering why the hell you bothered coming on this ride. Or even if you’re managing to keep up, maybe no one’s talking to you. The friend who invited you along is already miles ahead with other people, laughing with them and not caring at all that you’re miserable.
Also, similar to dating, you can show up to a group ride and find yourself with weird people you have nothing in common with, and you start wishing you’d stayed at home with a pint of ice cream.
BUT… this is only one side of the story. If you get out there and keep trying these rides, you start to figure out what works for you, and you can hone in on one that’s actually fun. Or maybe you even create your own. And from there, you can work yourself into a situation that can be seriously life-enhancing. You might stumble on a group that gels perfectly together, with an easygoing vibe that truly highlights the joy of riding bikes. It can evolve into a party train of jokes, good conversation, feel-good pace and friendly support. You could end up riding with these folks every week, you all become close friends, and the tradition of this weekly ride (and group bike vacations) becomes the glue that holds your whole social fabric together. You could even find Mr. or Mrs. Right, because lots of people have done it.
I’m sure you’re rolling your eyes right now, but I’m not yanking your chain. Bikes offer such a peak experience of endorphins, stress release, and accomplishment that it’s no surprise people bond after riding together. Throw in some fantastic scenery, a few good laughs, and some post-ride beverages, and you’ve got a recipe for one of the best things to happen to your life. You just have to endure a few bad dates to get there.
Okay, after all that buildup, here are a few pointers to help you navigate group rides:
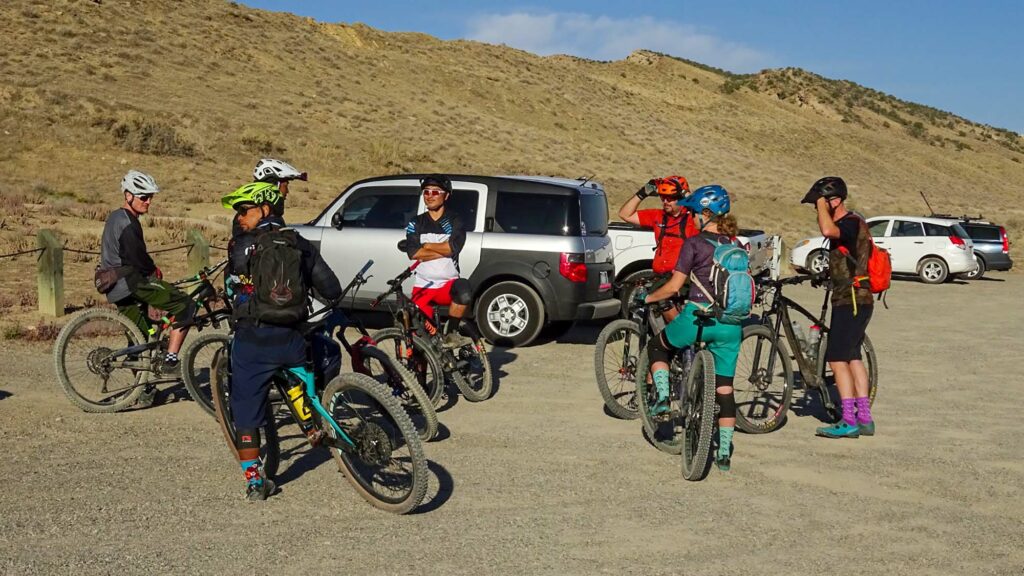
• Do a little bit of homework on the ride to see if it’s right for you. Even if it’s no-drop, it might still be too much for someone new to the sport. Talk to the organizer or someone who frequently participates to get a sense of the experience. Ask about typical distance and effort level to see if it’s something you can do comfortably.
• Seek out beginner-focused rides wherever possible. Even if you’re really fit from other sports, it takes time to develop the endurance and skills necessary for longer, tougher rides.
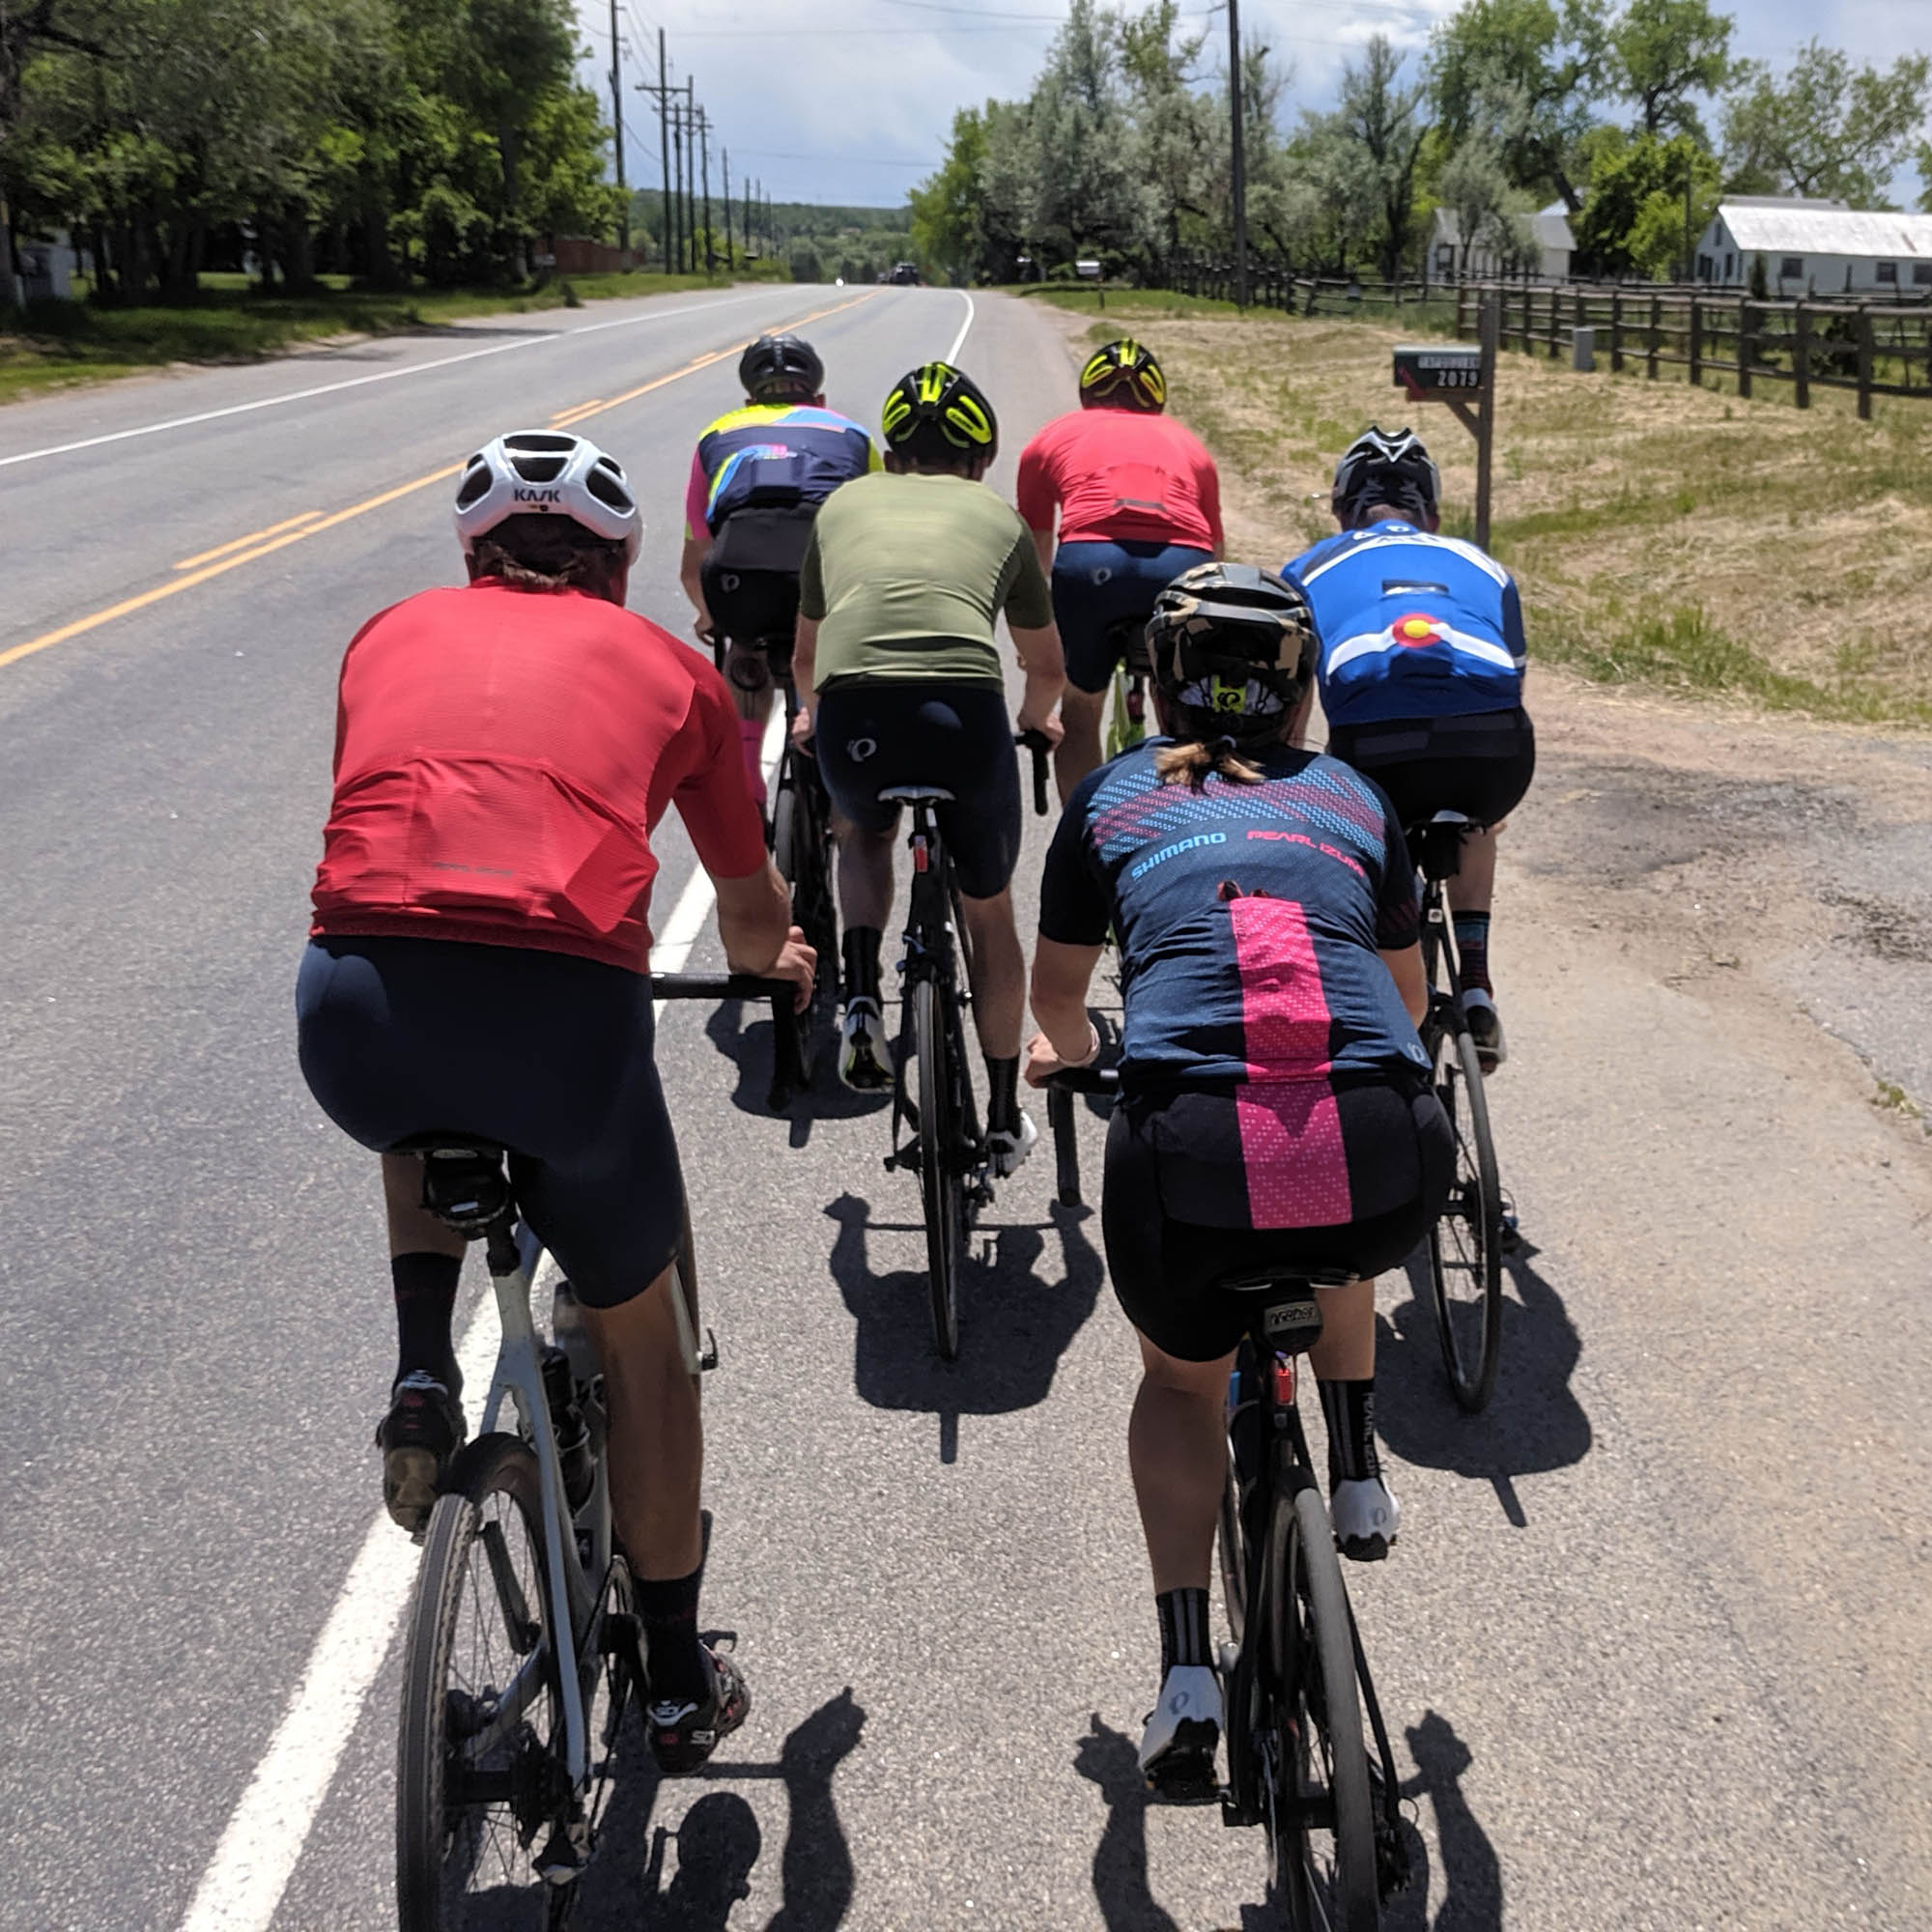
• For road rides, make sure you have a basic comfort level with riding close to other people and in traffic. If you’re still unsure in these situations, ride with a small handful of friends until you feel ready to join a bigger group. Learn about drafting (riding right on the wheel of another rider to shelter from the wind) and start practicing it.
• For mountain bike rides, take care to research the trails being used to see if you can manage the difficulty level. Nothing is more demoralizing than walking long sections of trail and feeling like you’re holding up the entire group. For new mountain bikers, getting skills coaching is a fantastic way to improve your ability and be safer out there.
• Bring everything you need (see the section above). Even though most people are extremely helpful, you don’t want to be the person who becomes a burden on the group by not being prepared.
• Bring a bike that’s ready to ride. Don’t hope that the group will help you with a flat tire or shifting issues before heading out. Hit up your local bike shop first.
• Be sure to bring a cell phone, not only for the obvious emergency reasons but so that you can use the apps listed above to find your way back home or to your car. You never know when you might get separated from the group or need to bail out.
• And finally, bring a positive attitude and hang onto it throughout. Even if you get dropped, feel overwhelmed and regret your decision to join this ride, be patient with yourself. You’re still learning the sport and developing your ability. When you catch up to the group, being positive will make others glad they waited for you because you’re fun to be around. As your skills and fitness grow, those folks will still want you along. And there’s no shame in telling the group you’re done for the day and need to roll home. Get back out there another day, though!
Whether you go with others or by yourself, riding bikes is one of the few things in life that always delivers a bit of joy, stress relief and renewed energy. We’re glad you joined us. Have fun out there!


Comments